"EXCEPT THE LORD BUILD THE HOUSE, THEY LABOR IN VAIN THAT BUILD IT"......Ps.127:1a
Showing posts with label Pallets. Show all posts

Tuesday, June 26, 2012

Making Vintage Signs with White

Okay, signs are a pretty common thing that people like to make here in blogland.
But.....
I am so excited that I can pick any font on my computer and make a sign with it.

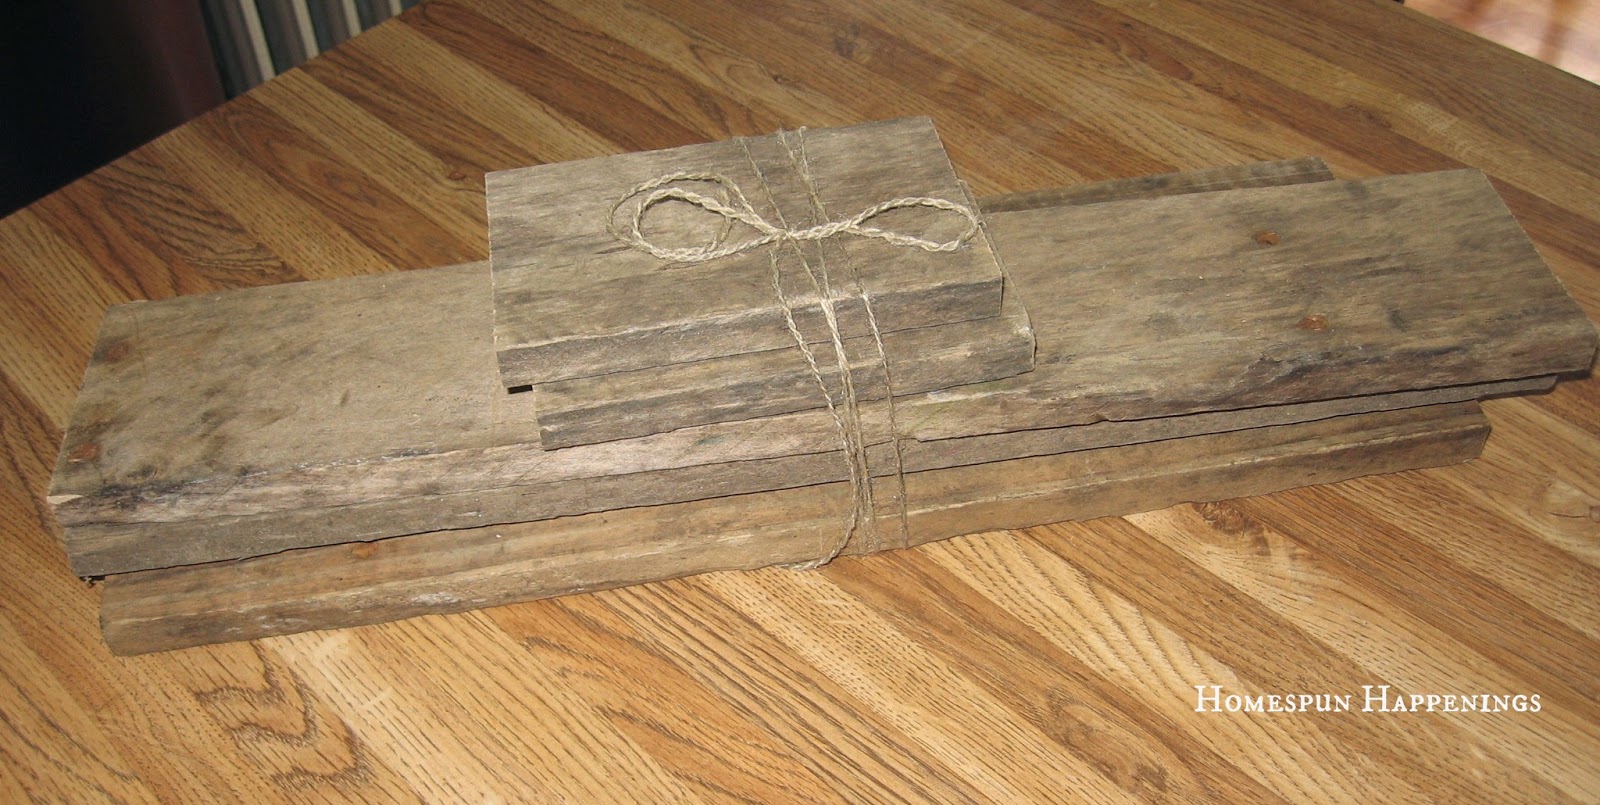
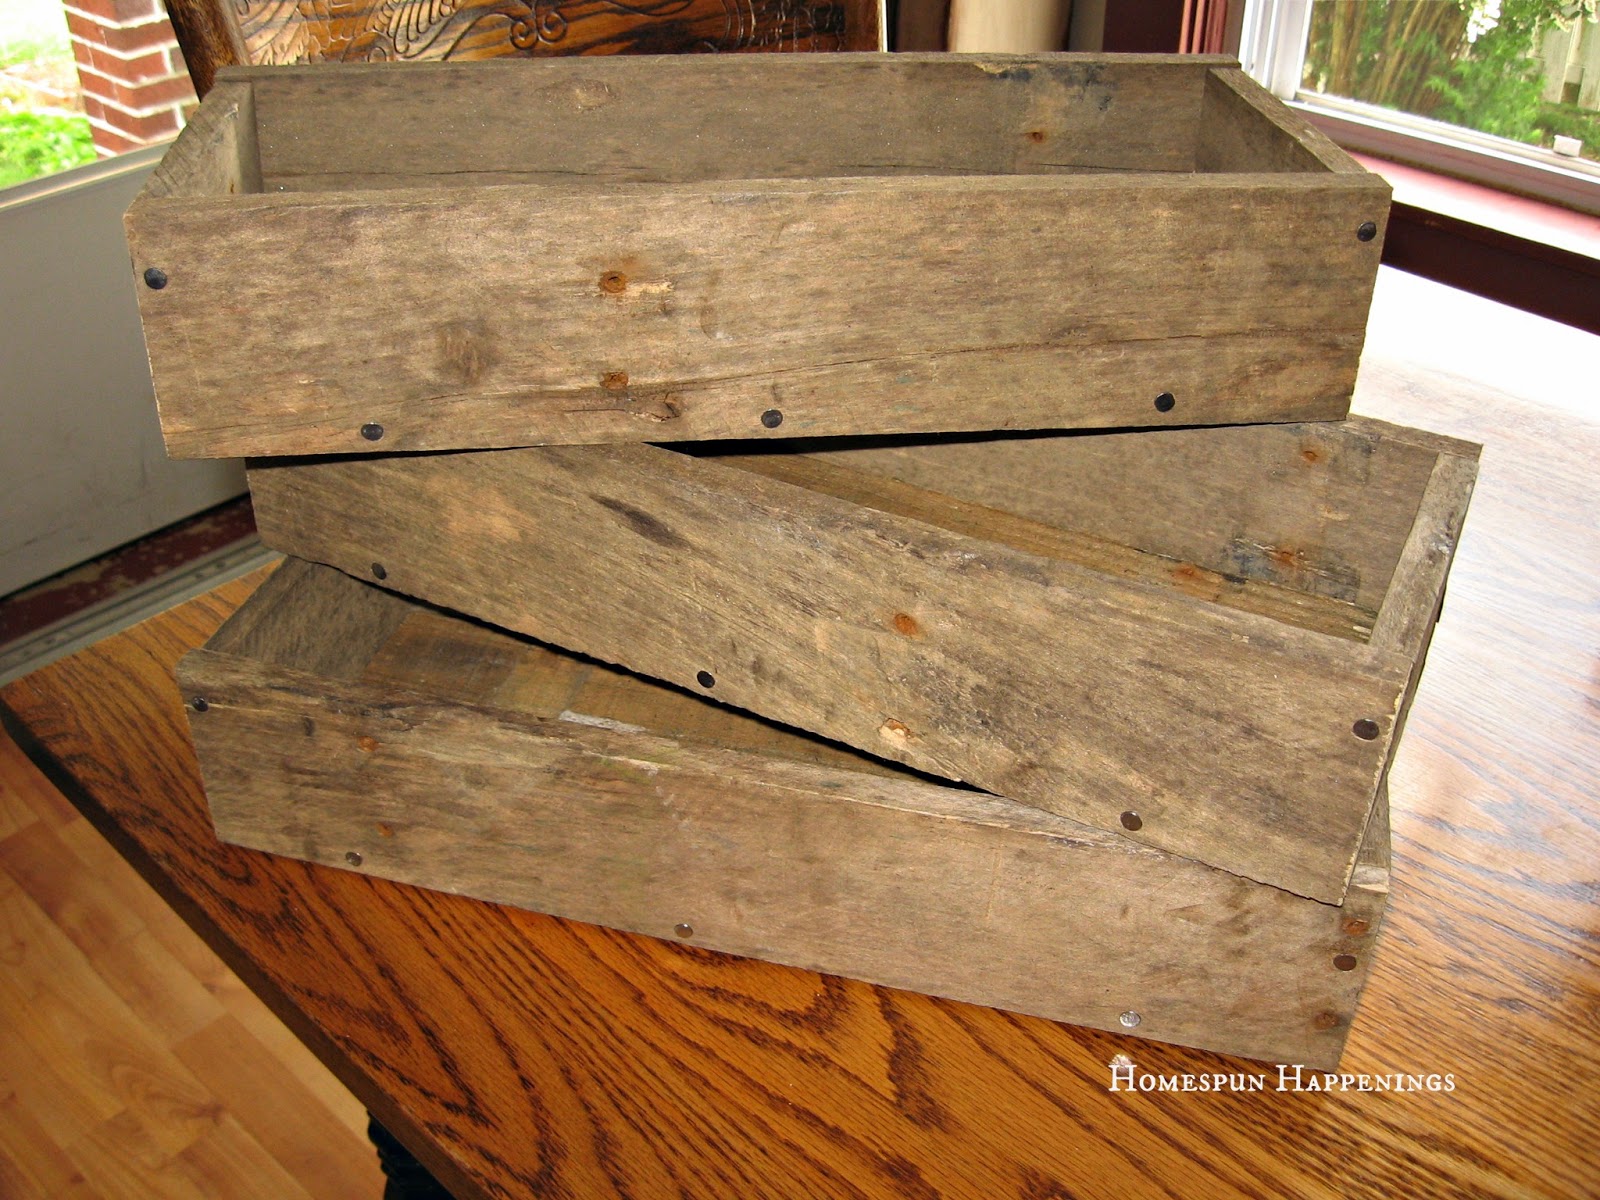
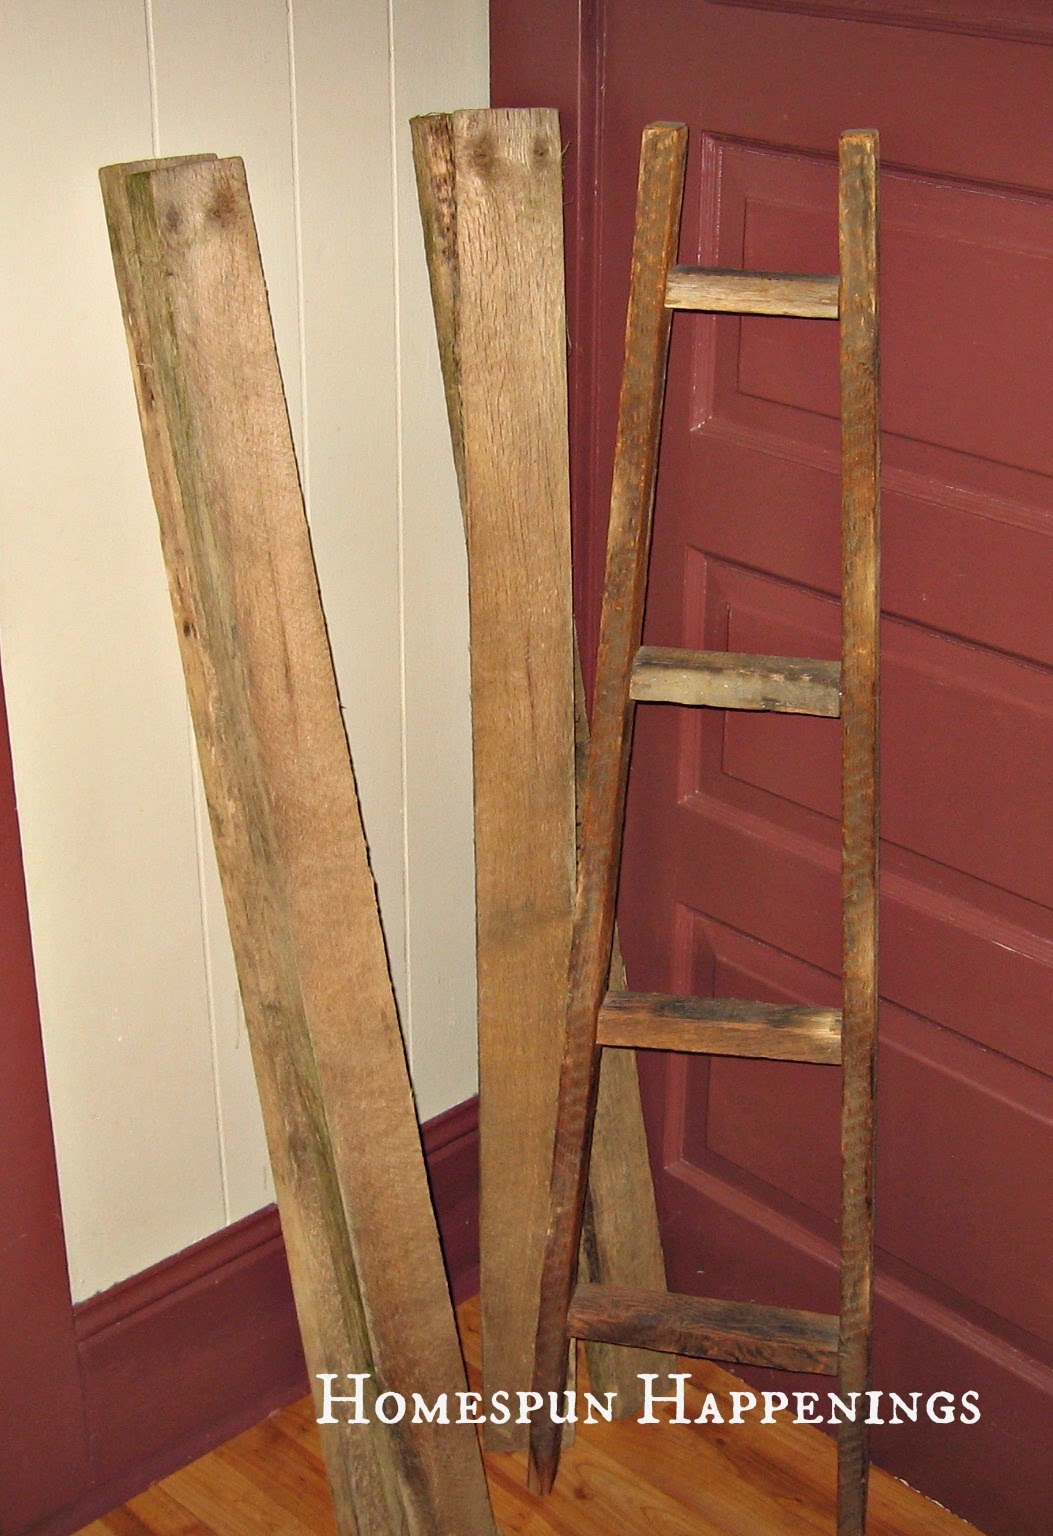
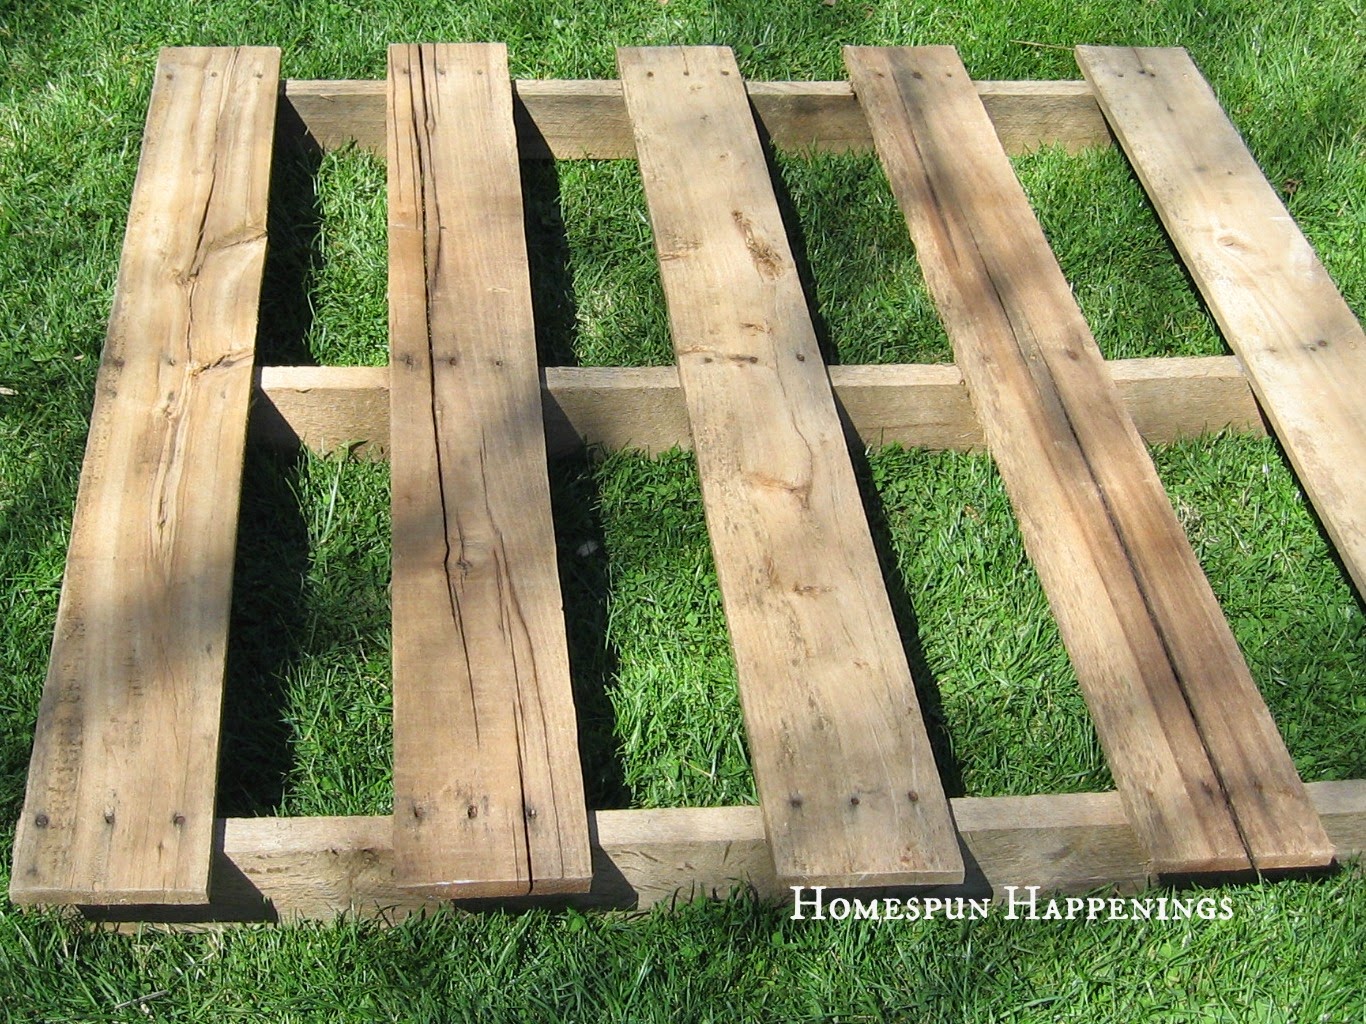
These wide pallet boards are perfect for signs.
I usually use the charcoal method to transfer my sayings that I print off of the computer.
That is where I print off my saying.
Color on the back of the lettering with a charcoal pencil.
Flip it over onto the surface that I want the wording to be on and
trace around the lettering.
Then I fill it in using my black Paint Marker.

I didn't want to only have light colored signs.
I wanted some with some dark colored ones too.
So I bought a white Paint Marker.
The problem with dark paint is that you can't see the charcoal.
Solution....
Color on the back of the lettering with white chalk.
It works!

I painted the boards with some acrylic paint.
I didn't paint all the way to ends of the board,so it looked like the paint had faded or chipped away over time.
Coming up with the right saying is a challenge for me.
Plus, having the right font that matches that saying can also be a challenge for me.

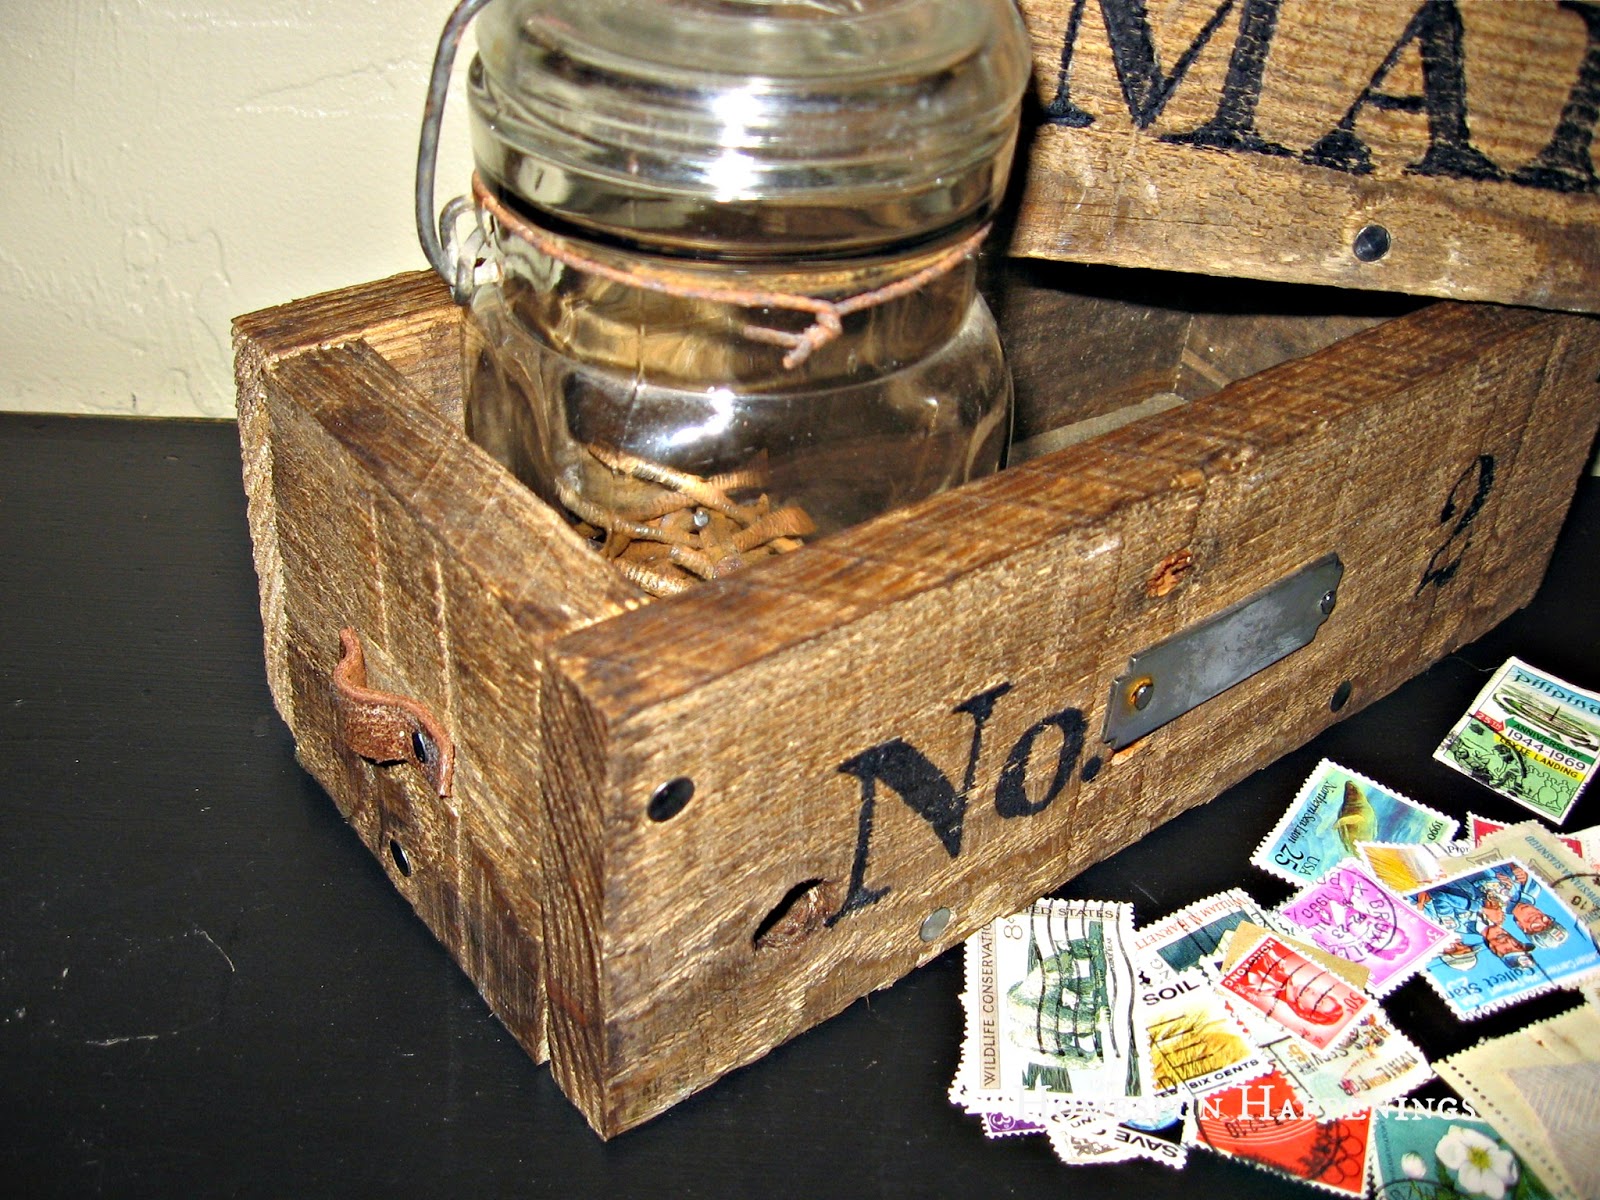
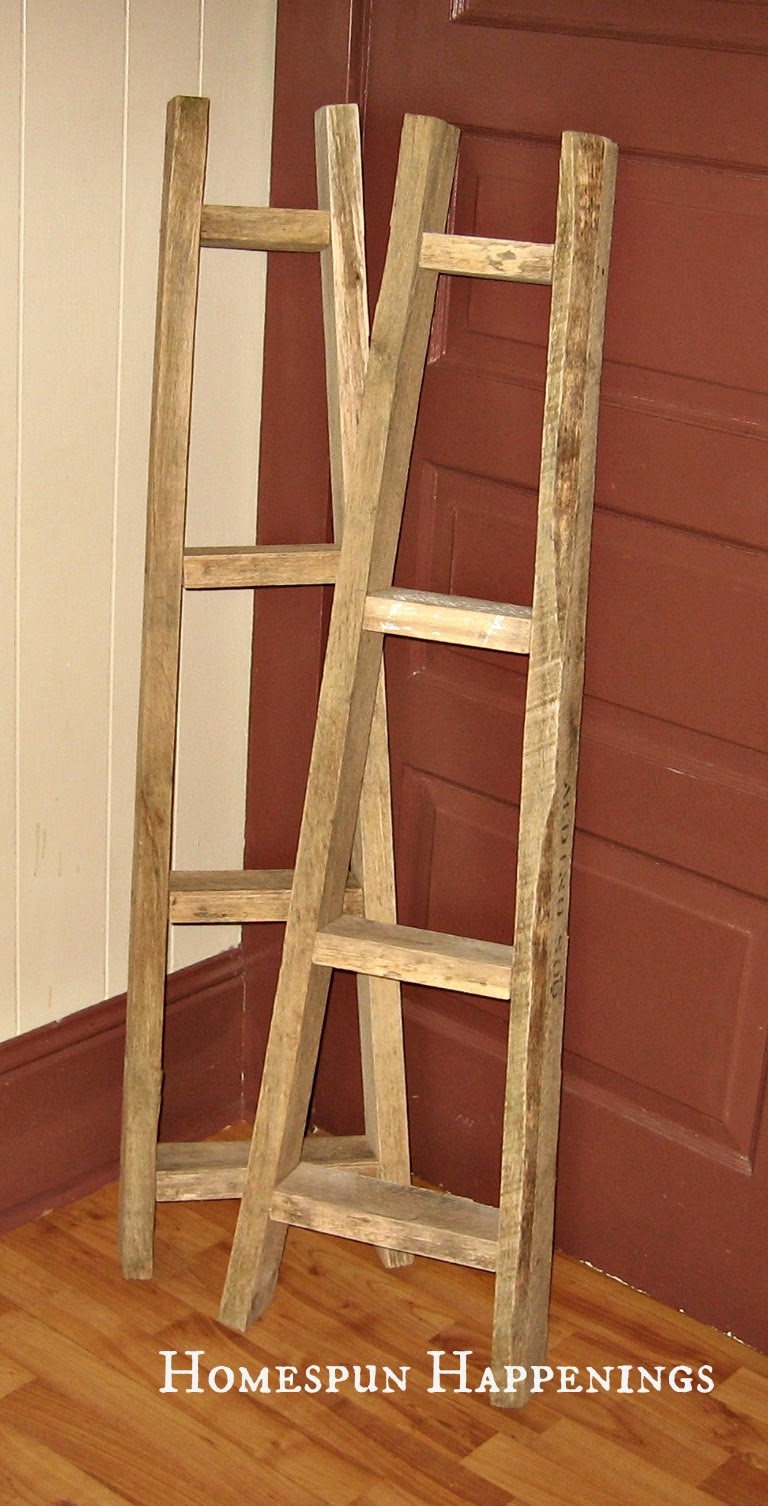
Here are the signs I just painted.
I like the look of using two different fonts in one sign.
They are not stained in this pic.
I am loving the white marker.
It was perfect for the look I wanted.
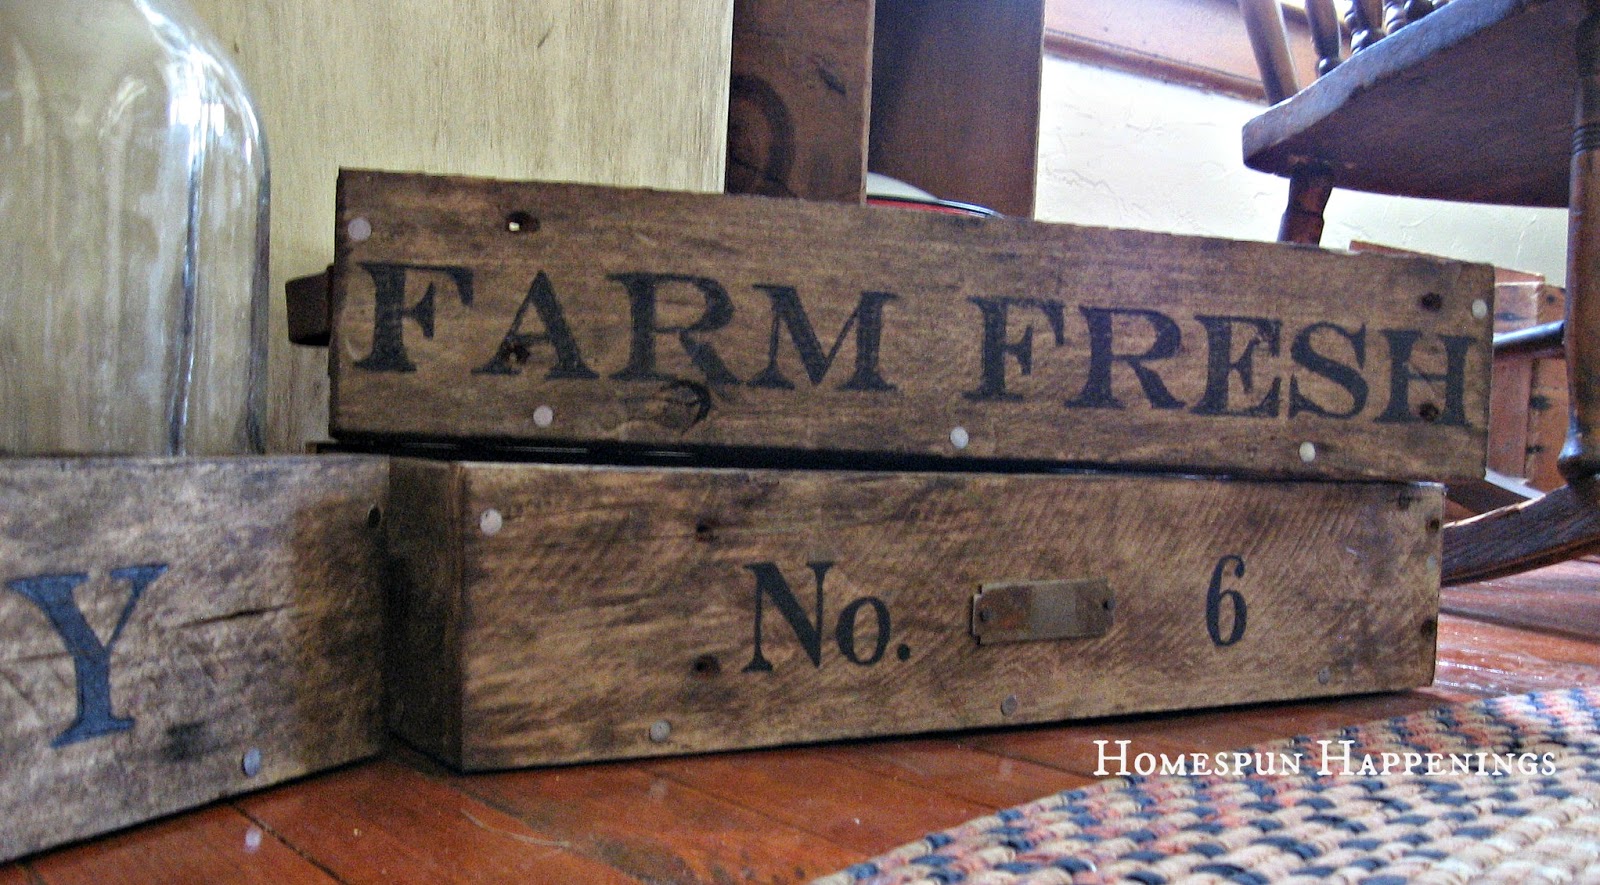
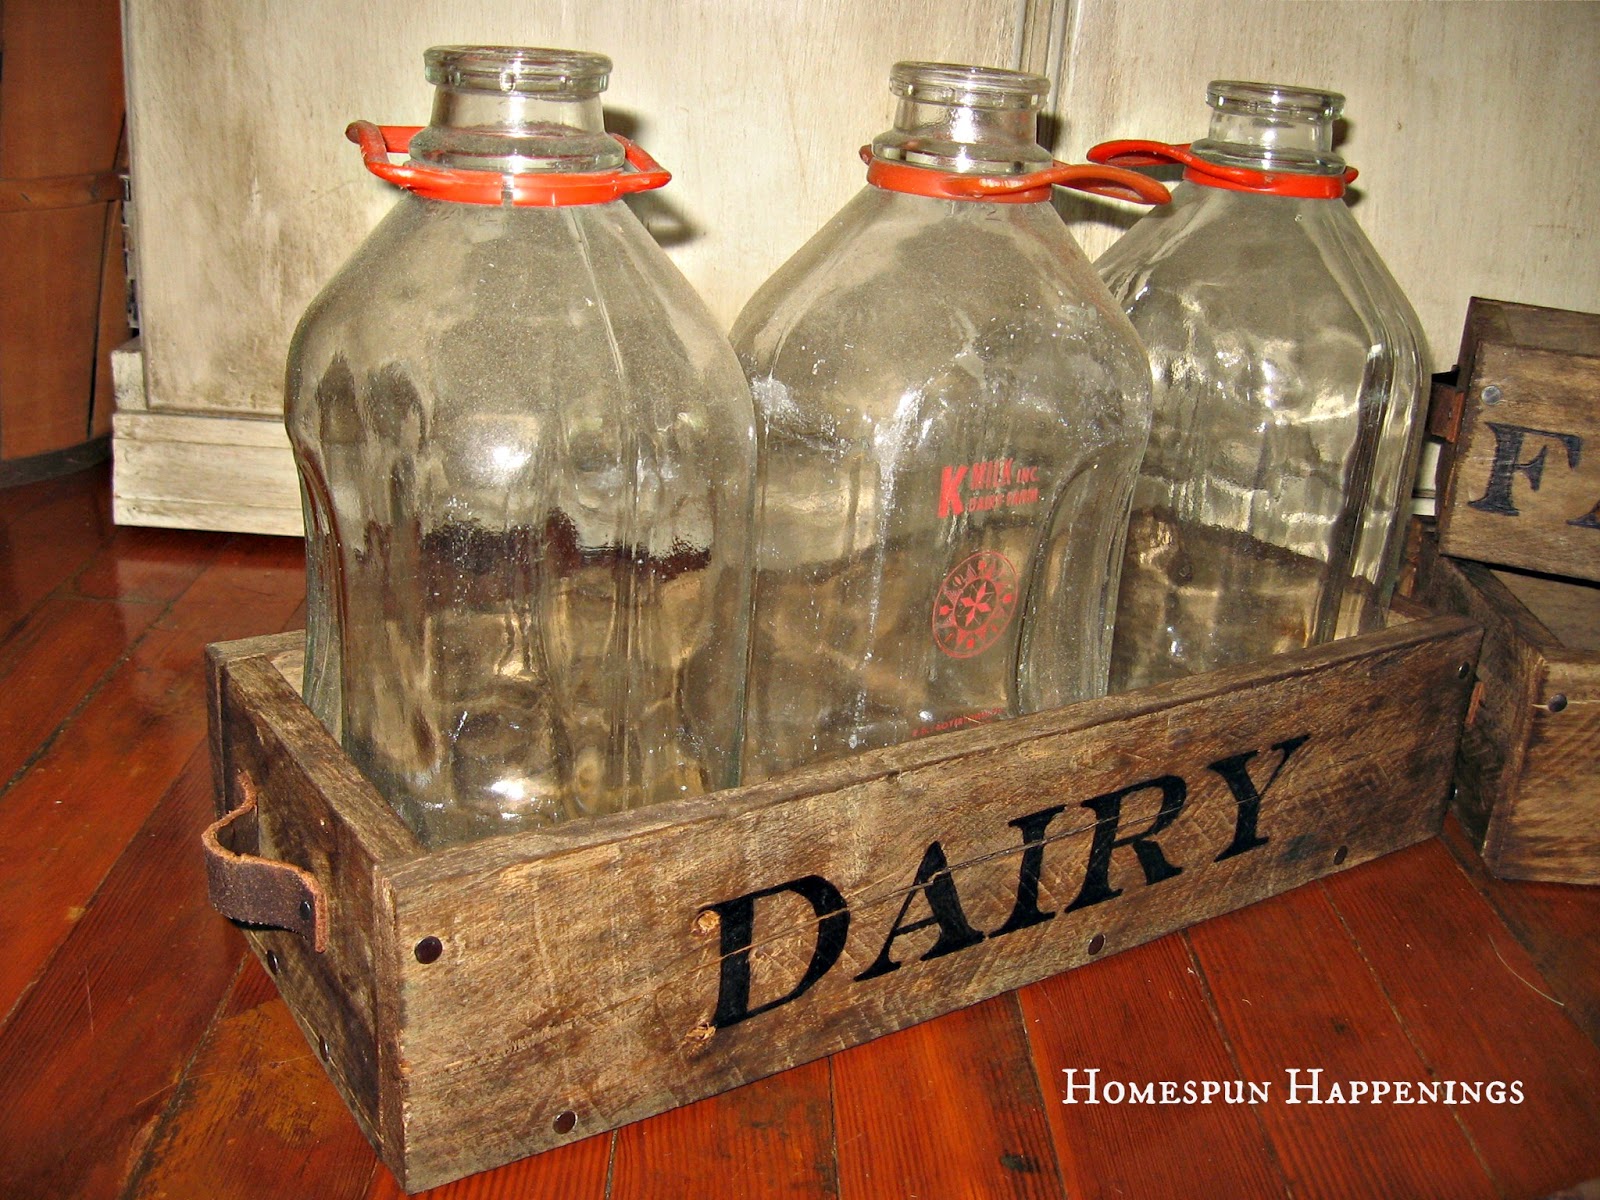
Once they were dried I stained them with Walnut colored stain

Again that is the look I like....
Old, Distressed, and Rustic!


Linking Up With:

Wednesday, June 20, 2012

Mini Tool Boxes from Pallets

I have an antique tool box that a special friend gave me years ago.
I thought that pallet boards would make a perfect imitation antique tool box.

I had an old oak chair that fell to pieces
and
 Guess what?
 I saved some pieces.
I am so glad I did.
The rungs on the chair made a perfect handle for my mini tool boxes.

I measured and cut out each piece for one box.
Since I cut out enough for two boxes,
I tied and bundled them together with twine so I wouldn't mix up the pieces. 

I drilled a hole in the end pieces big enough to fit the rung.
I then attached the end to the bottom piece like this.


I flipped it over and attached the other end like this.
Then I added the sides to the rest of the box.


I was NOT happy with the way I cut the ends,
SO............
I went back to the garage and cut the ends in more of a triangle shape.


like this:


That was much better!

Copying a font off of my computer,
I transferred the word Herbs using the charcoal method.


 I numbered these boxes on the other side.
I also added some leather straps to the inside of the mini tool boxes.


I did a wash of stain over the fresh cut wood to antique them.

I really love the way these turned out.

Linking Up with:

 Photobucket Simply Done Wright

Wednesday, June 6, 2012

Boxes Made From Pallet Wood

I have had so much fun making these boxes!
I was a little concerned with me using the table saw since I hit my leg with the hammer a gazillion times when I was tearing apart the pallet.
BUT no injuries have occurred during this project--Yay!

I measured and cut each of the box pieces individually, and then I tied them up with string so I wouldn't mix them up.
So this is one box.
I successfully nailed them together without smashing any of my fingers:)
I found these metal pieces in a free box at a yard sale--Yay!
I bought a leather belt at a second hand store for $1.50 to make faux handles.
My Aunt was so gracious to give me a hint at nailing tacks.  She told me to hold the tack with the needle nose pliers while hammering.  It worked like a charm!
Thanks Aunt Linda!
I also copied some fonts off the computer and transferred some sayings onto my boxes using a charcoal pencil.
These say Mail on one side.
On the other side of each box, I numbered the boxes.
I love these bigger boxes!
I did break a drill bit trying to drill a hole in the one end of the metal plates.
AND........
Sadly after I had taken this pic I grabbed one of these bottles by the orange handle.  Well the handle had a slit in it and down went the bottle in a thousand pieces.
Boy, does old glass really shatter!
I did like a stain wash to age the places where you could see that I cut the boards.

All this for a total of  $1.50.
I love doing projects like these!

Linking Up With:

{Primp}In The Old Road Tip Junkie handmade projectsPhotobucketshabby creek cottageFunky Junk's Sat Nite Special

Wednesday, May 16, 2012

Apple Ladders Made From Pallets

I love to decorate with ladders.
My grandpa gave me one from his farm, and I love it.
I have a feed sack hanging from it that also came from his farm.
You can see the feed sack and part of the ladder in this photo.
About 10 or more years ago I bought this little apple ladder at a craft store in Lancaster, Pa.
I have always wanted to make my own.
After I tore apart a set of pallets, I was left with these thick main boards.  I guess they are the frame for the pallet boards.  I thought these would be perfect for my apple ladders.
Below is the ladder that I bought long ago.
I used this ladder as a template for cutting the rungs for my "new" ladders.
So here are a set of rungs--just straight cut blocks from the pallet boards--no need to cut angles.
Now for the nails.  
I tried to save as many of the nails that I could when I tore apart the pallets.
They were awful rusty things--I love 'em :)
Okay, now for nailing it together--try not to get distracted by my antique stove in the background.
I tried to measure the distance between rungs, but I found it better to just put the rung in between the two boards and tap it with a hammer towards the top of the ladder until it looked okay.
A lot of guess work going on here.
I was so excited that it worked out!
Two "new" apple ladders.
Remember when I was tearing apart the pallets and I hammered my shin in the same spot twice.
Well, of course I couldn't finish a pallet project without hammering some part of my body again, could I?
OUCH!  Tears....sniffle...sniffle....sip some coffee....deep breath....okay, finish the project.
I thought I would stain them with dark walnut--I won't do that again.
They turned out too dark for me.
I did sand them after staining, but they are still too dark for me.  
I don't like it when it looks almost black--too fake.
These boards really had some character of their own.
I am very happy with the way they turned out for my first try.
You can see the older ladder in the back holding a logging tool.


Linking up With:


Tip Junkie handmade projectsPhotobucket